
Like most creative things, it takes a little setup before we can start actually making our game. A lot of this stuff you only half to do once, and future games are even easier to get started on.
If you have been following along, you already have Monkey-X installed and can open up the TED IDE to write some code. If not, go back to the first part of this tutorial and get it installed.
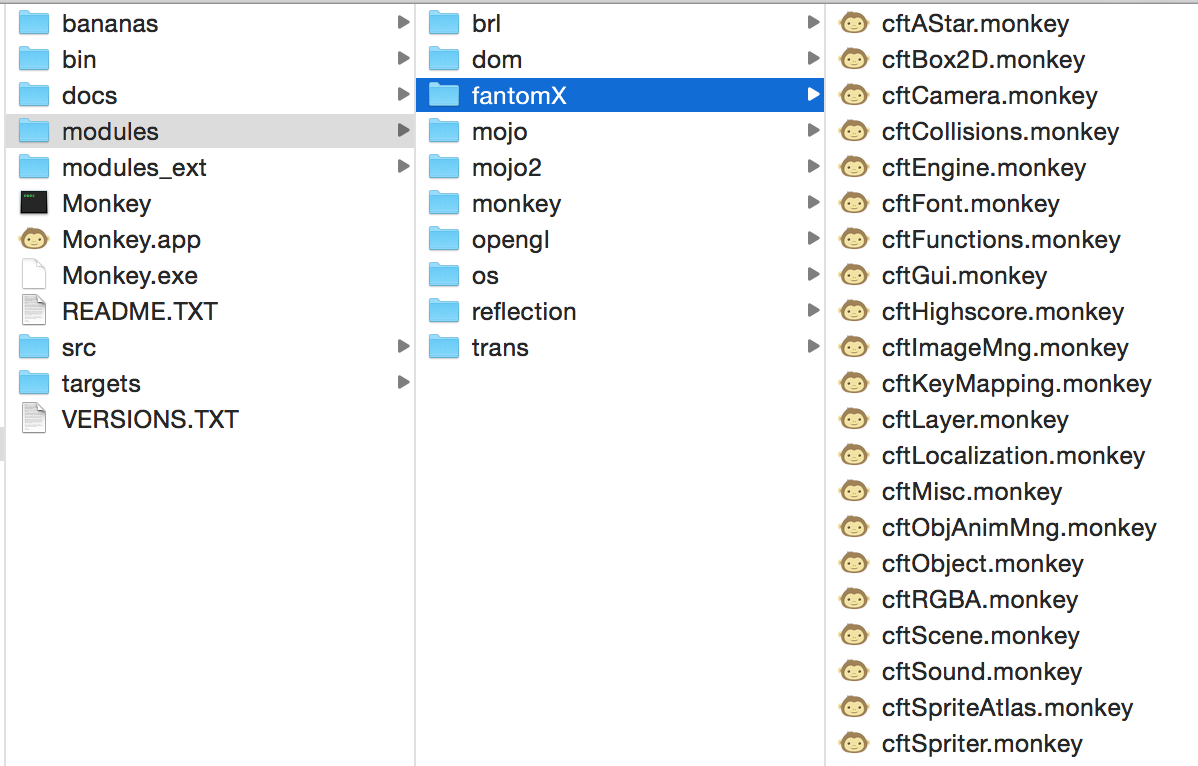
The Fantom X Module
For this first game we are going to use a Monkey module called Fantom X (previously Fantom Engine) to do some of the heavy lifting for things such as collision and user interface.
It includes access to Monkey’s Mojo framework and gives us a lot of nice tools.
Install the Module
Head over to fantomgl.com and under Fantom X, select download.
Once the zip file is downloaded, unzip the file and copy it to Monkey’s modules folder.
Import Fantom X and Start Your Engine
Now that Monkey is installed and Fantom is installed, we need to bring the Fantom X module into our game file and create an instance of the engine. To do that we will import Fantom X, create our Game class, give it an engine object and start our OnCreate method.
This creates an instance of the Fantom engine that will be managing a lot of our game for us.
The Main function is what Monkey needs to have in the file that you build to run. In the Ted IDE you can click build and run and this should run without errors. All you will get is a black screen but that is alright for now.
Set the Scene
Fantom has Layers, Scenes and Objects. A Layer is a collection of Objects. A Scene is a collection of Layers. A game is a set of Scenes that are like the various states (menu, first level, etc) that the game goes through.
One of the things it needs to know when it starts up is which scene to start in. So we need to set the default scene in our OnCreate method.
Also the engine can operate with various Layers, allowing you to have a background and a foreground and to simulate height and depth for 2D games. While we set the default scene, we are going set the default layer as well.
Even if you are copying and pasting the code, it is a good idea to try to run it and make sure you don’t get any errors.
Add Update and Render Methods
The final part of our setup is going to be adding the OnUpdate and OnRender functions. We will go ahead and use the engine to draw some text in them just to make sure they are working.
Here we create our OnUpdate method and call the engine’s Update method. First we find out how long it has been since we last called this method with CalcDeltaTime. Then we divide that by what we expect our framerate to be in order to get a speed factor to pass to our the engine’s Update method. This will ultimately affect each object when we modify it’s speed later.
In our OnRender method we clear off the screen and make it completely red. Then we set the color of what we are about to draw. After that we draw text that shows the position of our cursor or our touch input in relation to our game.
Run it now and test it out.
Setup Complete
Now that we have a basic shell for our game we can start adding the various scenes and objects together to make our game.
Tutorial Part 4
Tutorial Part 6